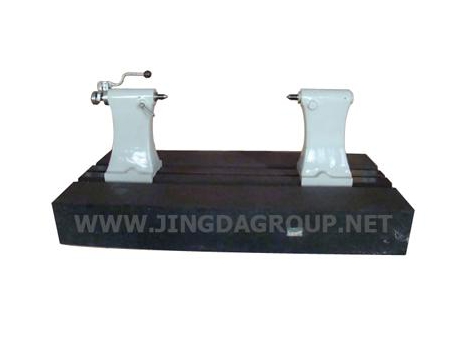
Granite Base Bench Center
This product has been discontinued and removed from our shelves.
ApplicationThe granite base bench center is widely applicable for the measurement of shaft parts, plate type product, or machine parts. It mainly inspects the radial run-out, ovality, and end face accuracy error.
Features- This precision bench center applies the granite base to greatly enhance the precision of reference plate, thus minimizing the accuracy error.
- The adjustable gauge stand can conduct the measurement at any position of the base.
- Our testing instrument is rust resistant as well as convenient to use and store.
Screw down the handlebar of eccentric shaft. Firstly, fix the fixed type tailstock onto the base. According to the length of the tested part, fix the adjustable tailstock at the appropriate position. Depress the ball handle and install the part. Use the two tips to support the part central hole. Screw down the handle, and secure the tip. Place the adjustable gauge stand to the desired position. When equipped with the dial gage, the granite base bench center can be applied for inspection and test.
Technical Parameters| Type (mm) | Measuring Length (mm) | Measuring Diameter (mm) | Precision (μm) |
| 300 | ≤ 300 | ≤ 340 | ≤ 1 |
| 500 | ≤ 500 | ≤ 340 | ≤ 3 |
| 1000 | ≤ 1000 | ≤ 340 | ≤ 5 |
| 1500 | ≤ 1500 | ≤ 340 | ≤ 6 |
| Type (mm) | Length (mm) | Width (mm) | Height (mm) |
| 300 | 700 | 500 | 100 |
| 500 | 900 | 500 | 130 |
| 1000 | 1400 | 500 | 150 |
| 1500 | 1900 | 500 | 200 |
