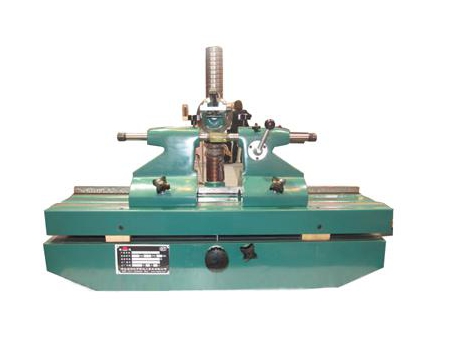
Gear Bench Center
Request a Quote
This product has been discontinued and removed from our shelves.
The gear bench center is used to inspect the radial run-out. Working principles of gear testing tool are as follows: During one turn of the gear ring, the measuring head is in the groove or on the gear wheel, and contacts with both sides of the upper part of the gear. During the inspection, the gear that needs testing should be installed onto the central spindle, and fixed between the two instrument thimbles. Insert the measuring head into the gear, and then use the dial gauge to indicate the gear ring run-out value at the position of the measuring head.
Our gear bound tester is also suitable for testing the cylinder or worm gear which has the precision of grade 6 or above.
Parameters| Modulus of the Gear to be Inspected | 0.3-2mm; 1-6mm |
| Diameter of the Gear | 150mm-300mm |
| Turning Range of Inspection Racket | ±0° |
| Division Value of the Indicator | 0.001mm |
| Remark: the prices of length extension and height raise can be decided by both parties through consultation | |
